How to join granny squares: four methods compared
Whip stitch, slip stitch, single crochet seam or join-as-you-go. What each one looks like and when to use it.
By Maya Linden
|2 min read
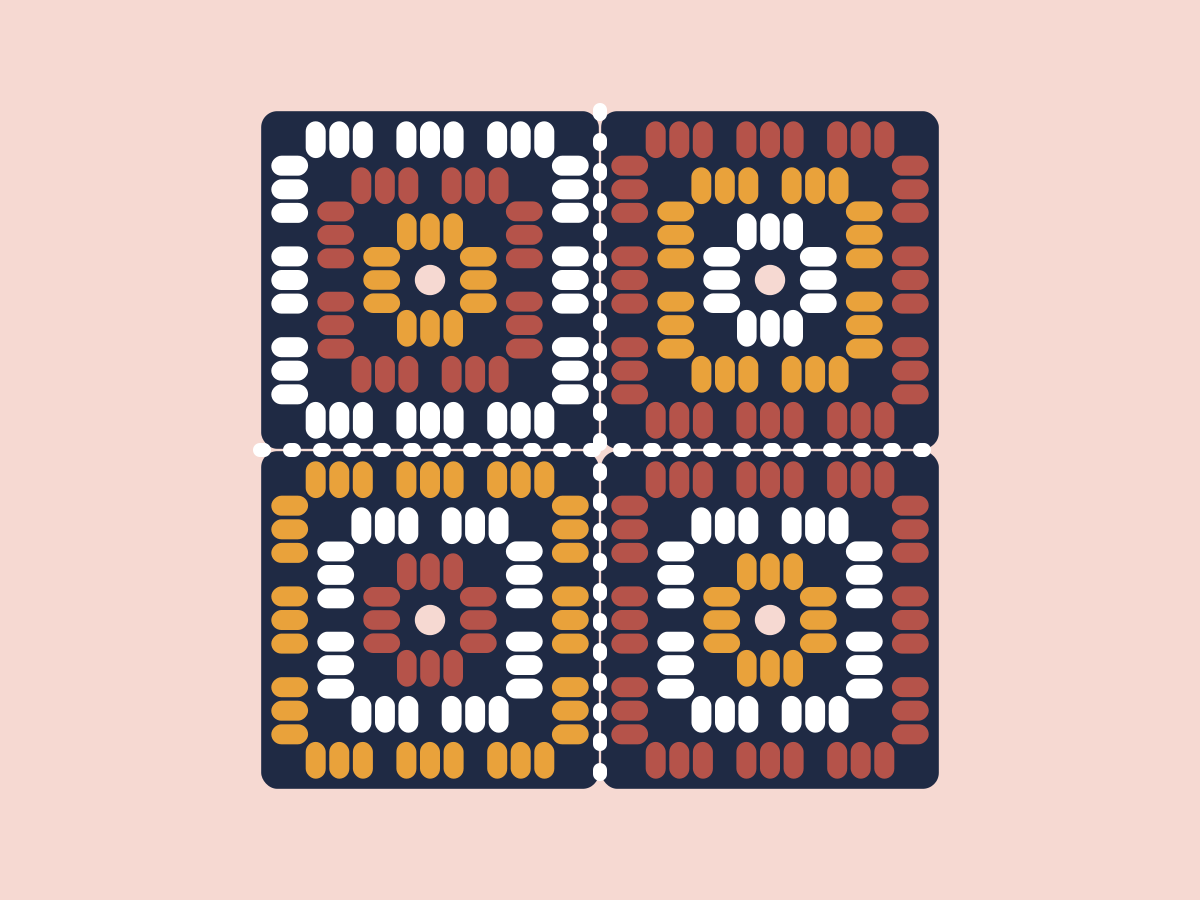
Any join works on a granny square. The difference is how flat the seam lies, whether it shows on the front, and how long it takes. Pick based on the project, not on which one is "correct".
Before you start, block all your squares to the same size. Then lay them out and photograph the layout so you can follow it while you join.
Quick comparison
| Method | Seam on front | Flatness | Speed | Best for |
|---|---|---|---|---|
| Whip stitch | Nearly invisible | Very flat | Slow | Blankets, wearables |
| Slip stitch | Raised ridge | Flat | Fast | Bags, a visible grid |
| Single crochet seam | Bold ridge | Slightly thick | Fast | Decorative contrast seams |
| Join-as-you-go | None | Very flat | Fastest overall | Large blankets |
1. Whip stitch
- Place two squares side by side, right sides facing up.
- Thread a yarn needle with about three times the length of the seam.
- Starting at a corner, insert the needle through the back loops of the matching stitches on both squares.
- Pull through, then go back to the same side and repeat for each stitch along the edge.
Keep the tension even. If you pull too tight the seam puckers; too loose and you'll see gaps.
2. Slip stitch join
- Place squares with wrong sides together (right sides facing out).
- Insert your hook through the back loops of both edge stitches, pull up a loop, and slip stitch.
- Continue in each pair of stitches to the corner.
This leaves a neat raised line on the front, which looks lovely in a contrast colour.
3. Single crochet seam
Work exactly like the slip stitch join, but with single crochet. The ridge is chunkier and more decorative. For a flat version, place the squares right sides together so the ridge ends up on the back.
4. Join-as-you-go
Instead of seaming at the end, you attach each new square to its neighbours while you work its final round.
- Make your first square completely.
- Work the second square up to its last round, stopping at the corner that will touch the first square.
- At that corner, work (3 dc, ch 1), sl st into the neighbour's corner space, ch 1, 3 dc.
- Along the shared side, replace each ch 1 with a sl st into the matching ch-1 space of the neighbour.
- Finish the rest of the round as normal.
It takes one square to get the hang of, and then you finish the blanket with no seams at all.
Finishing
When everything is joined, add a simple border: one round of single crochet with 3 sc in each outer corner. It hides any small differences between squares and makes the edges straight. Square ready? Here's the classic granny square pattern if you need more.
Questions about this pattern
What is the most invisible way to join granny squares?
A whip stitch through the back loops, in the same colour as the last round, is the least visible join. It lies flat and the seam almost disappears on the front.
Should I join granny squares in rows or all at once?
Join them into rows first, then join the rows together with long seams. It's faster, and the corners line up better than joining square by square.
Maya Linden
Pattern designer and crochet teacher
Maya has been crocheting for fifteen years and teaching beginner classes for eight. Every YarnHook pattern is stitched and tested by her before it's published.