Granny square cardigan pattern for beginners
Forty-four classic squares, one simple layout and a ribbed band. If you can make a granny square, you can make this cardigan.
By YarnHook
|3 min read
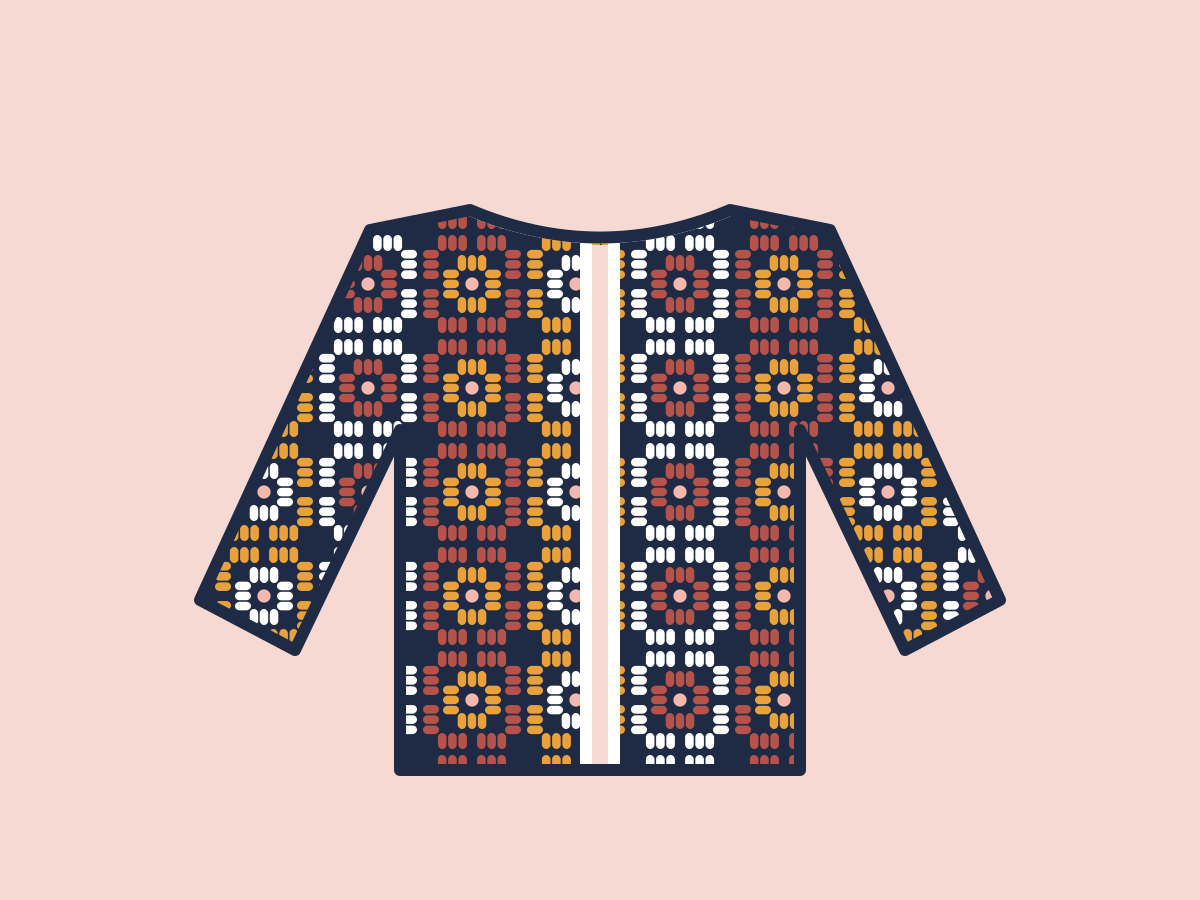
A granny square cardigan looks complicated, but it's really four flat shapes made from squares: one back, two fronts and two sleeves. There's no shaping and no counting beyond what's in each square. You make a pile of squares, lay them out, and join them in the order below.
If you haven't made a square before, start with our classic granny square pattern. This cardigan uses exactly that square, worked a few rounds bigger.
Materials
- Worsted weight (#4) yarn, 2,400–2,800 yd in total. Use one main colour for the last round of every square and for the bands, about 900 yd.
- 5 mm (H-8) hook, plus a 4.5 mm (7) hook for the ribbed bands
- Yarn needle and stitch markers
Choose your size
The layout never changes. Size comes from the number of rounds in each square:
| Size | Bust | Rounds per square | Square size | Finished chest |
|---|---|---|---|---|
| XS–S | 30–34 in | 5 | 5 in (13 cm) | 40 in |
| M–L | 36–40 in | 6 | 6 in (15 cm) | 48 in |
| XL–2XL | 42–48 in | 7 | 7 in (18 cm) | 56 in |
The fit is oversized, with roughly 8 in (20 cm) of ease. Make one square and block it first. If it's bigger or smaller than the table, change your hook size before making the rest.
Make the squares
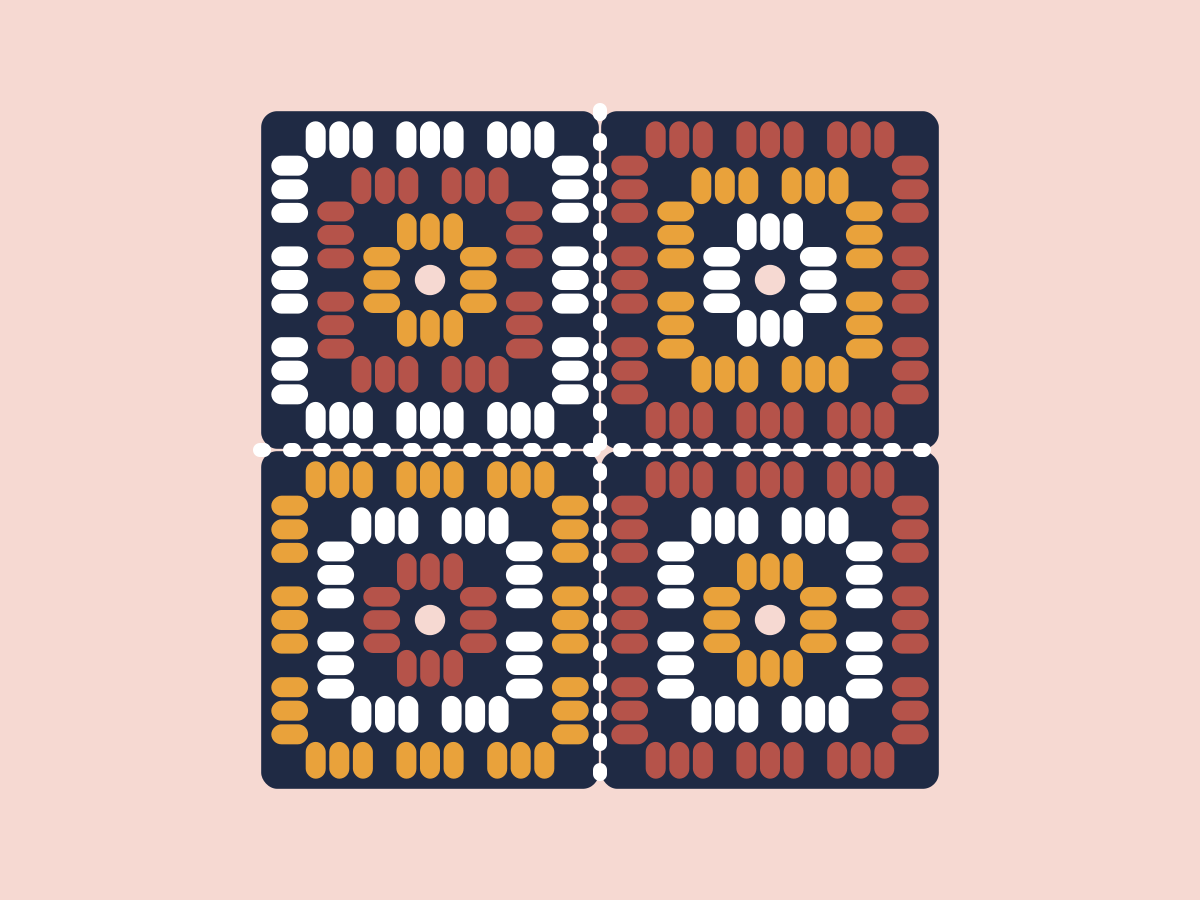
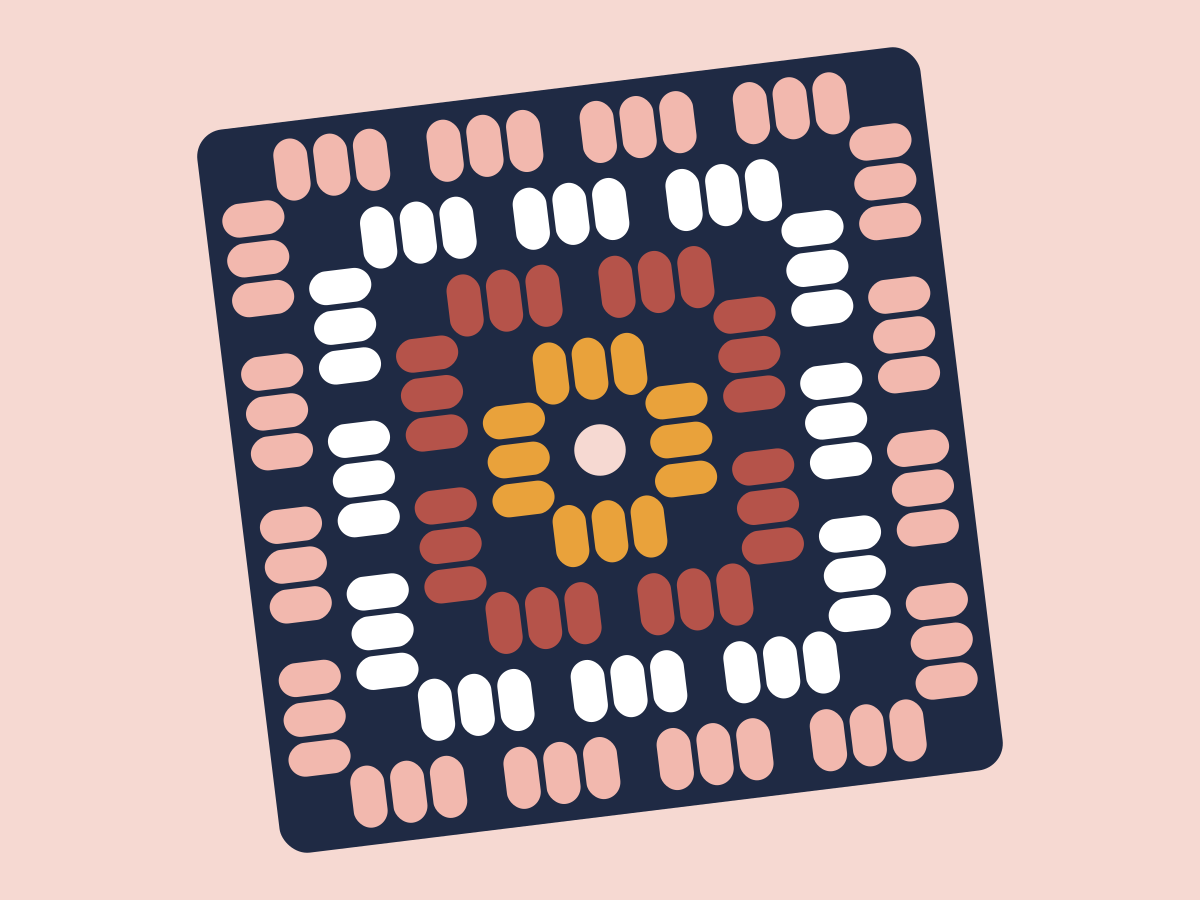
Work the classic granny square to the number of rounds for your size, using the main colour for the final round. Make 44 squares, then block them all to the same size.
Layout
- Back: 4 squares wide × 4 squares tall (16 squares)
- Each front: 2 squares wide × 4 squares tall (8 squares each)
- Each sleeve: 2 squares wide × 3 squares long (6 squares each)
Join each piece into its rectangle first. A whip stitch through the back loops lies flattest. See how to join granny squares for all four methods.
Assemble the cardigan
- Shoulders: lay a front on top of the back, right sides together and top edges even. Join only the outer square of the front to the outer square of the back. Repeat for the other front. The back's middle two squares and the fronts' inner squares stay open as the neckline.
- Sleeves: fold each sleeve in half lengthwise to find its centre. Match the centre to the shoulder seam, then join the top of the sleeve to the body, one square down the front and one square down the back.
- Side and sleeve seams: fold the cardigan at the shoulders. Join each sleeve seam from the cuff to the underarm, then continue down the side seam to the hem.
Ribbed bands
With the smaller hook and the main colour:
Front band: join yarn at the bottom of the right front. Sc evenly up the right front, around the back neck and down the left front, working about 3 sc for every inch of edge. Then work 6 rows of hdc through the back loop only. That's the same ribbing used in our ribbed beanie, worked along an edge.
Cuffs: sc evenly around each sleeve opening, then work 5 rounds of sc through the back loop only, decreasing evenly in the first round until the cuff fits comfortably around your wrist.
Hem (optional): work 4 rows of sc along the bottom edge.
Weave in all ends and give the whole cardigan a final steam or wet block.
Questions about this pattern
How many granny squares do I need for a cardigan?
This layout uses 44 squares: 16 for the back, 8 for each front and 6 for each sleeve. You change the size by making the squares bigger or smaller, not by adding more.
What yarn is best for a granny square cardigan?
A soft worsted weight wool blend or acrylic. Wool blends block beautifully, so your squares end up the same size. Avoid stiff cotton, which makes the cardigan heavy.
Can I use scraps for a granny square cardigan?
Yes. Keep the yarn weight the same for every square and use one colour for the last round of every square. It ties the scraps together and hides the joins.
YarnHook
Free crochet patterns and tutorials
YarnHook publishes free crochet patterns and tutorials in plain language, using US crochet terms.