Mini crochet shoulder bag pattern with daisy granny squares
A compact crossbody purse made from daisy granny squares with a textured flap and sturdy strap. Holds phone, keys and everyday essentials.
By YarnHook
|5 min read
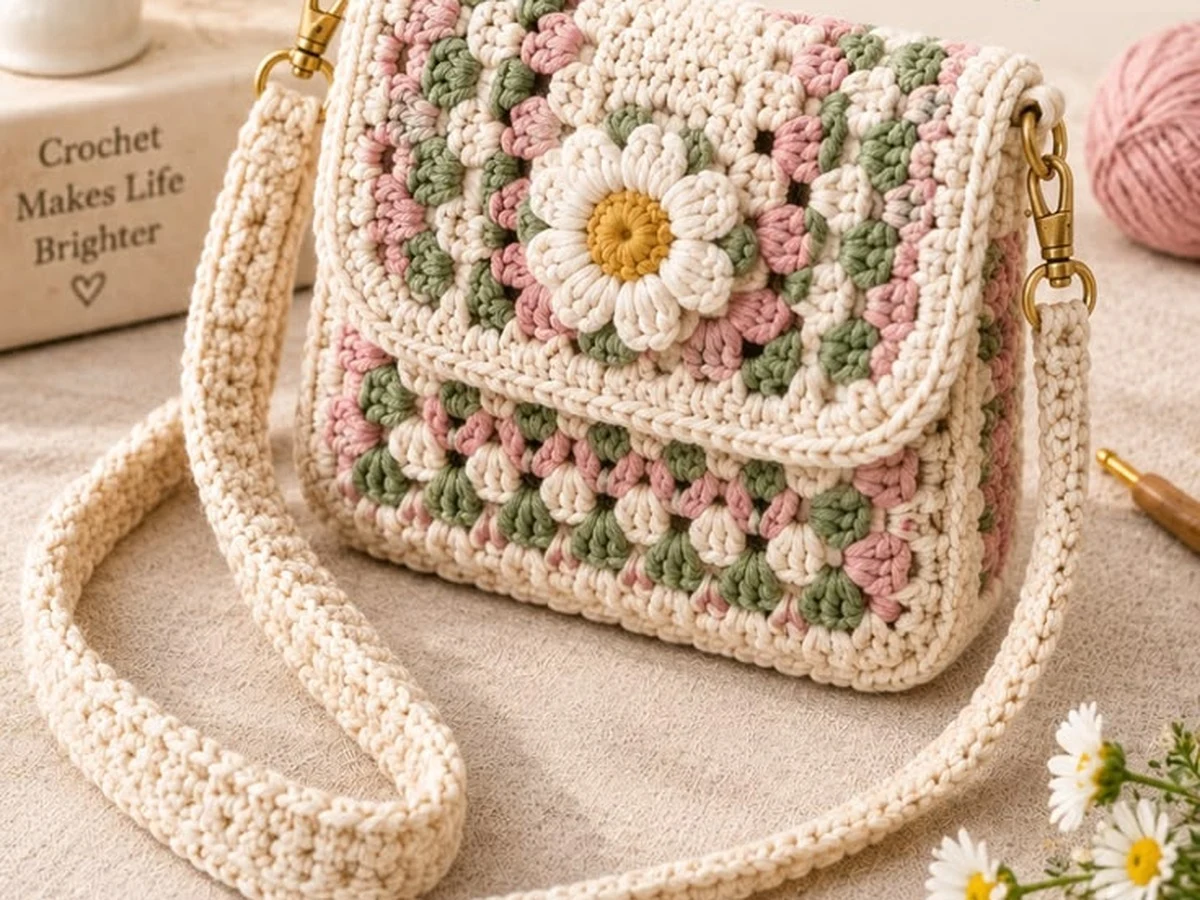
This mini crochet shoulder bag is the perfect weekend make: compact enough to carry your phone, keys, and lip balm, yet detailed enough to look like a designer boutique piece. Constructed from retro-cottagecore daisy granny squares in soft sage green, blush pink, and cream, it features a front flap highlighted by a dimensional 3D daisy flower and vintage-style antique brass swivel hardware.
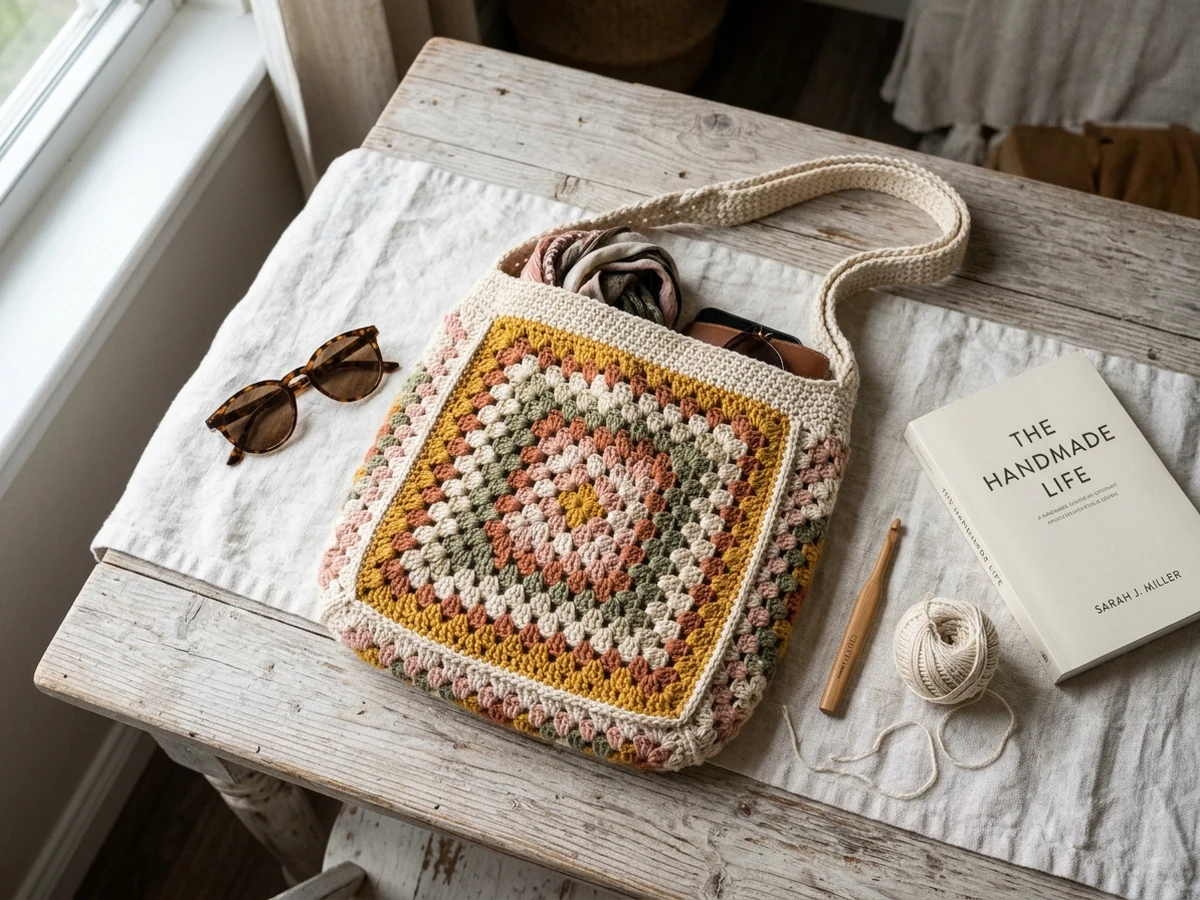
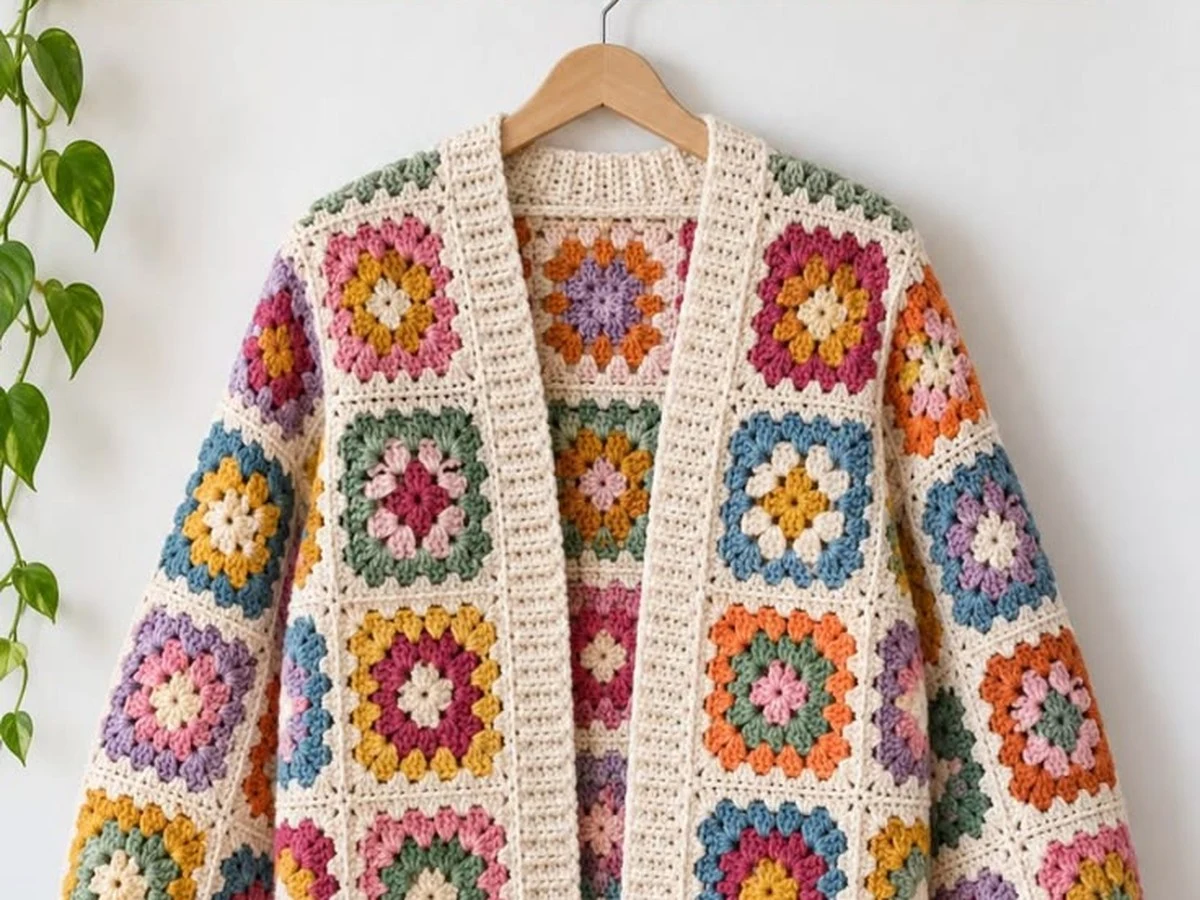
If you love our larger granny square tote bag and floral tote bag, this mini crossbody is a lighter, quicker project you can easily complete in just a few sittings.
Materials
- Worsted weight cotton yarn (#4):
- Color A (Cream / Ecru): approx. 90 yd (body borders, gusset, and strap)
- Color B (Sage Green): approx. 40 yd (leaf rounds)
- Color C (Blush Pink): approx. 40 yd (floral petals)
- Color D (Mustard Yellow): approx. 10 yd (daisy flower centers)
- Crochet hook: 4 mm (G-6) — slightly smaller than standard for worsted cotton, creating a dense, structured fabric that holds its boxy shape
- Hardware:
- Two 1-inch (25 mm) antique brass swivel lobster clasps
- Two 1-inch (25 mm) antique brass D-rings
- One sew-on magnetic snap closure (14 mm or 18 mm)
- Notions: Tapestry needle, scissors, measuring tape, and stitch markers
Finished Size & Gauge
- Bag dimensions: 7.5 in (19 cm) wide × 5.5 in (14 cm) tall × 2 in (5 cm) deep.
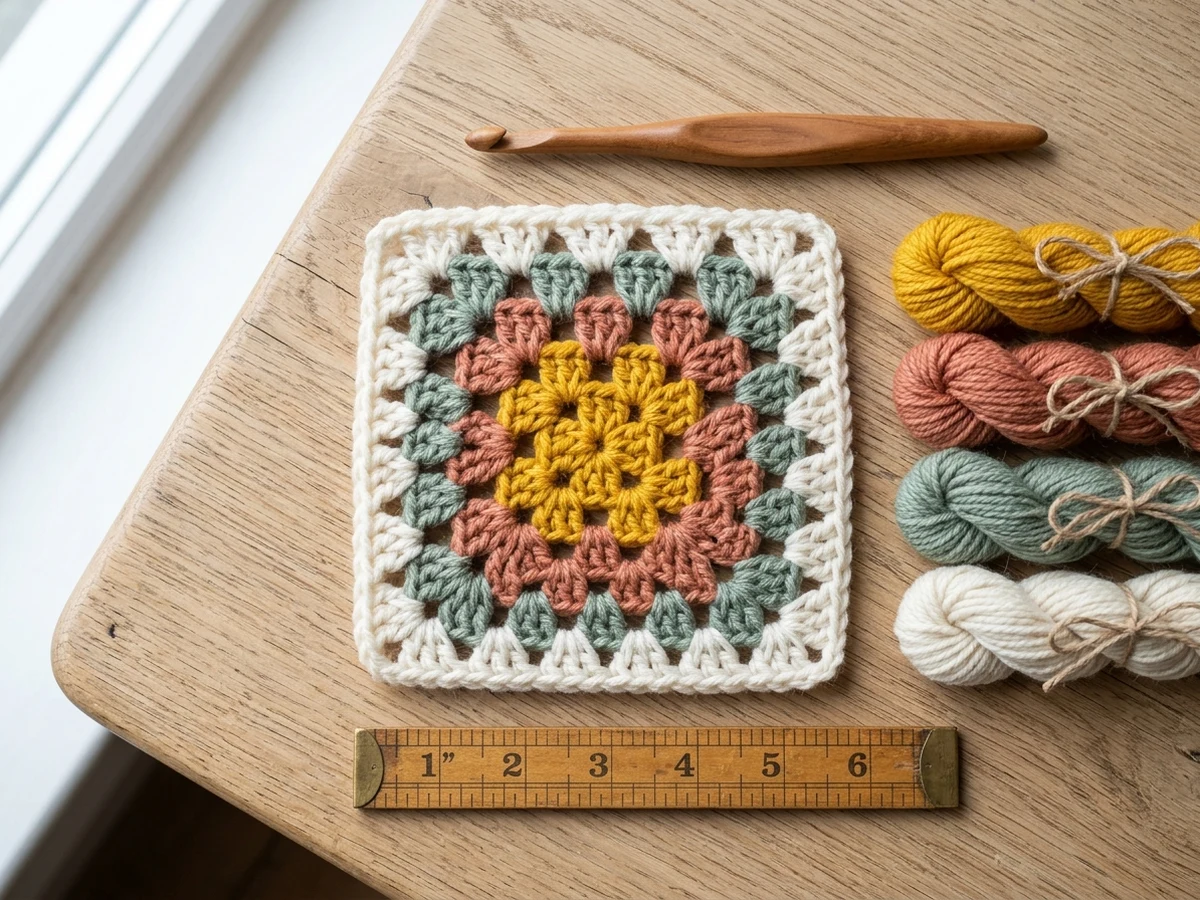
- Granny square size: Each blocked square measures exactly 3.5 in × 3.5 in (9 × 9 cm).
- Gauge: 16 sc and 18 rows = 4 in (10 cm) in single crochet.
Stitch Abbreviations (US Terms)
- MR: Magic Ring
- ch: chain
- sc: single crochet
- hdc: half double crochet
- dc: double crochet (see our classic granny square tutorial)
- tr: treble crochet
- sl st: slip stitch
- puff st: [yarn over, insert hook, pull up loop] × 4 in same st, yarn over, pull through all 9 loops on hook, ch 1 to close
- sp(s): space(s)
Part 1: The 3D Daisy Granny Square (Make 1 for Flap)
The statement front flap features a layered daisy flower with raised petals.
Flower Center (Color D - Mustard):
- Round 1: In a MR, ch 1, work 12 sc into the ring. Sl st to first sc to join. Fasten off Color D. (12 sts)
Petals (Color A - Cream):
- Round 2: Join Color A in any sc. [Ch 3, 3 tr in same st, ch 3, sl st in same st, sl st in next st] × 12 times. You will have 12 plump rounded daisy petals. Fasten off Color A.
Leaf Round (Color B - Sage Green):
Working into the back of Round 1 stitches behind the petals:
- Round 3: Join Color B. Ch 3 (counts as 1 dc), 2 dc in same sp, ch 2, 3 dc in same sp (first corner). Ch 1, skip 2 petals, 3 dc between next petals, ch 1, skip 2 petals, [3 dc, ch 2, 3 dc] in next space (corner). Repeat around. Sl st to top of ch-3. Fasten off Color B.
Outer Border (Color C - Blush Pink):
- Round 4: Join Color C in any corner ch-2 sp. [3 dc, ch 2, 3 dc] in corner. Ch 1, 3 dc in next ch-1 sp, ch 1, 3 dc in next ch-1 sp, ch 1, [3 dc, ch 2, 3 dc] in corner. Repeat around. Sl st to join, fasten off.
Part 2: Classic Granny Squares (Make 4)
Make 4 standard 4-round squares for the front and back body panels using our granny square joining technique:
- Round 1: Color D (Mustard) — 4 clusters of 3 dc separated by ch-2.
- Round 2: Color C (Blush Pink) — 2 clusters in each corner separated by ch-2.
- Round 3: Color B (Sage Green) — 3 dc clusters in corner and side spaces.
- Round 4: Color A (Cream) — final unifying cream frame.
- Measure squares: block all 4 to 3.5 in square.
Part 3: Assembling the Body & Gusset
- Front Panel: Seam 2 classic squares side by side using a slip stitch join through the back loops only. (Finished front: 7.5 in × 3.5 in)
- Back Panel: Seam 2 classic squares side by side in the same way. (Finished back: 7.5 in × 3.5 in)
- Flap Attachment: Sew the 3D Daisy square to the top edge of the back panel.
- The Gusset Strip (Color A):
- The gusset creates the 2-inch depth along the sides and bottom:
- Ch 9.
- Row 1: Sc in 2nd ch from hook and across (8 sts).
- Rows 2–72: Ch 1, turn. Sc in each st across (8 sts). Work until strip measures approx. 18.5 in relaxed (equal to side + bottom + side perimeter).
- Seaming Gusset to Panels:
- Pin the gusset strip evenly along the outer edge of the front panel, right sides facing out.
- Single crochet through both layers around the bottom and sides for a crisp, structural piping seam.
- Repeat with the back panel.
Part 4: Sturdy Non-Stretch Shoulder Strap
To keep your crossbody purse from sagging when loaded with a smartphone and keys:
- With Color A and 4 mm hook, attach yarn directly around the straight bar of your first swivel clasp:
- Work 5 sc directly over the clasp bar.
- Row 1: Ch 1, turn. Work 1 sc in each st across (5 sts).
- Row 2 (Thermal Sc): Ch 1, turn. Insert hook into the back loop and the unworked front loop from the row below, yarn over, pull through, yarn over, pull through 2 loops. Repeat across.
- Continue in thermal sc until strap measures 44 in (112 cm), or desired length.
- Work final row over the bar of the second swivel clasp to secure. Fasten off and weave in tails firmly.
Part 5: Finishing & Hardware
- Attach D-Rings: Using Color A and a tapestry needle, sew the two brass D-rings securely to the top edges of the side gussets. Clip the strap swivel hooks onto the D-rings.
- Magnetic Snap: Sew the male half of the magnetic snap to the inner center of the front flap, and the female half to the upper center of the front panel.
- Edge Border: Join Color A with a slip stitch at the side corner of the flap. Work 1 round of tidy sc and reverse single crochet (crab stitch) around the flap perimeter for a clean boutique finish.
Weave in all remaining ends with your yarn needle. Your mini daisy shoulder bag is ready to wear!
Questions about this pattern
How many granny squares are needed for this mini shoulder bag?
This bag uses 5 granny squares in total: 2 for the front, 2 for the back, and 1 statement 3D daisy square for the front fold-over flap. A continuous 2-inch side and bottom gusset strip connects them to give the bag depth.
How do I stop the crochet shoulder strap from stretching?
Work the strap in thermal single crochet or tight slip stitch back loop rows rather than loose double crochet. Using 100% mercerized cotton yarn also minimizes stretch compared to acrylic or wool.
Does this crochet purse need a fabric lining?
Because the stitches are worked tightly with a 4 mm hook, a lining isn't strictly necessary for keys and phones. However, adding an optional cotton muslin lining gives extra polish and prevents smaller items from poking through.
Can I adjust the strap length for shoulder or crossbody wear?
Yes. For a high shoulder carry, make the strap 28–32 in (71–81 cm). For a standard crossbody drop, work until the strap measures 42–46 in (107–117 cm).
YarnHook
Free crochet patterns and tutorials
YarnHook publishes free crochet patterns and tutorials in plain language, using US crochet terms.